Pages

Showing posts with label vintage. Show all posts

Friday, 3 February 2017

Machine Knit: new discoveries: meeting and rejuvenating mechanical machines: Singer Silver Reed 321 360

Oh how I do love learning new things!
One of the factors inherent in a craft that requires machines made around 40 years ago, is that they will require maintenance.
I adore my Singer 321, the model came out in 1972 and I believe they are so numerous in Australia as they were sold with Singer sewing machines. My mum remembers her very talented crafting aunt creating many garments on her knitting machine back in their heyday.

I have made many a swatch on my trusty Singer 321, it's a lot like hand knitting for me, I simply enjoy the process of making. A finished object is nice, however it's the formation of stitches, discovering what can be done and discovering new techniques, that give me great enjoyment.

My next search was for a ribber, to double the size of my 200 metal stitch bed and allow me to venture into the world of circular knitting and ribbing. Did anyone say "SOCKS" ;)
Of course, it never rains, but it pours, and after a few months of keeping my ear out, I spotted not one, but two machines with ribbers for the right prices. Of course I investigated them both ....
One was another Singer 321, this one a smidge younger than mine and with a rather fetching red highlights.
The other was my 'dare to hope for' machine, a Singer 360.
She's plainer than her older cousin, having been released as the last fully mechanical model in 1980 before electronic machines came out around 1982.
Both machines had spent quite a number of years sitting in garages, so they were in falling apart cardboard boxes, grimy, stiff and not looking their best.
My 360 even had the main carriage stuck to the main bed with a deteriorated piece of plastic and none of it's cams' rotated.

Did I mention my love for learning new things? I also adore cleaning - not tidying!, but removing grot and getting stuck things spinning again.

Armed with the internet, paper towel, cloths, a stiff paintbrush (or two), a bottle of methylated spirits and white spirit, some 3 in 1 oil, a set of screwdrivers and a healthy dose of enthusiasm,
I set to work.

SPOILER ALERT - Yes, they both are restored and knit, tuck and slip beautifully. The 360 looks like living up to it's name to knit through 360 degrees, as it's ribbing is perfect.
The 321 is now named Susie and has found a very happy home with Sew Jillian
Photo heavy details now follow.
Doesn't look too bad - but those cams didn't budge!
The flat sponge bar and the edge pieces that were sticking the carriage to the main bed
First thing that everyone will mention is the sponge bar.
These long metal strips are meant to have a strip of foam on them that will press the needles down into the bed and allow them to hold their position. Without a sponge bar, they flop around and when in D position, they can dislodge and fall out. Sponge bars deteriorate over time, more rapidly when they've been in storage (or so I've heard), so in short, every machine that's not been used for a while will need a new one.
A new functional spongebar in my 321
aka what it 'should' look like
You can see the piece that looks like a long narrow strip of cardboard in the photo of my 360 above? That's a flat sponge bar. Under the fabric layer was a mess of sticky gunk that crumbled and required a screwdriver to scrape out and goof off to completely remove.
Obtaining a replacement sponge bar is, interesting. There are suppliers, however many of them would rather not ship to Australia (and postage isn't cheap for a 120cm long piece of metal). Fortunately both sponge bars had intact metal, although the 321's plastic end caps have deteriorated and will need replacing.

The most common DIY replacement available is weatherstripping. I took the advice of experienced machine knitters and purchased the Raven brand RP14B extra thick 12mmx12mm self adhesive version. One packet was enough to do both sponge bars.
The ribber has an original plastic (not sponge) bar, however the 360's is unstable in D position, so it may need one of these in the future.

There are tutorials online for inserting the weather strip sponge. I then used iron on interfacing to provide the fabric topper which protects the sponge.
I did try glue and ribbon first, but that was messy and I might still have some glue on some needles (don't ask...)
Ta da!!
pretty good for a first go. Weather strip, interfacing and tape
Reinserting the sponge bar is quite straight forward, providing you don't try to put it in upside down.... The sponge goes down and the metal goes up.
Hold the needles down on the main bed as you slide the bar back into it's hole, you can see the orange tip in the main bed as it approaches the raised needles at 6.5.
While the sponge bar was out of the machine, I removed all of the needles from the main bed and soaked them in methylated spirits. I soaked the needles from the centre separately from the two ends. this enabled me to replace the end needles in the centre and vice versa. I was fortunate in that only a few needles overall were bent and required replacing.

Needles, the bottom 2 have soaked in metho while I wrestled with the carriage
Now, armed with copies of each machine's manual, it was time to get to work on the carriages...
Manuals can be found as free downloads on this amazing site: Machine knitting etc dot com
Seriously, it's brilliant!

Both (all) Singer/Silver Reed Japanese metal bed mechanical machines are essentially the same.
Step one, remove the handle from the main carriage, it will be held on with screws in the side. Keep them together ;)
Then remove the stitch selection dial. It will have a little clip holding it in place, this is important for when you need to clip it back in at the end. I found holding it under tension with a screwdriver when I reinserted the metal selector was necessary.
321 with cover dismantled. The grey plastic also comes off
360 with handle removed
360 showing spring clip
Now you can see the cams that are vital to the machine's function. Don't attempt to remove them, and most definitely don't attempt to dismantle them.
(unless you know what you're doing, in which case, you're already familiar with this bit!)
321 ready to clean
Look at the yellow gunk, this is old oil that we're about to remove with white spirit.
If you spot any fluff or thread, remove it.
360 ready to clean
I painted everything liberally with white spirit on a stiff paintbrush.
Well, all the metal bits anyway. It took less time than I thought before the cams began to start to budge, then more working the spirit into the mechanisms and attempting to spin the cams, until they spun freely, quite quickly and without resistance, yay!!

I wiped off whatever excess I could see and did a little happy dance.
Next I re-oiled anything that moved, white spirit is amazing, but very, very drying and if they're not re-oiled, the cams will seize again.
Now its simply a matter of reversing the steps and putting all of the pairs of screws back into the holes from whence they came.

And voila! All it needs is the regular maintenance steps as outlined in the manual. Vacuum or squirt air +/- a brush along the main bed to remove any dust and fluff, oil the main bed and set up to knit some test swatches!
Job done!

SaveSave

Thursday, 9 June 2016

Autumn 2016! : Woven Linden for the win


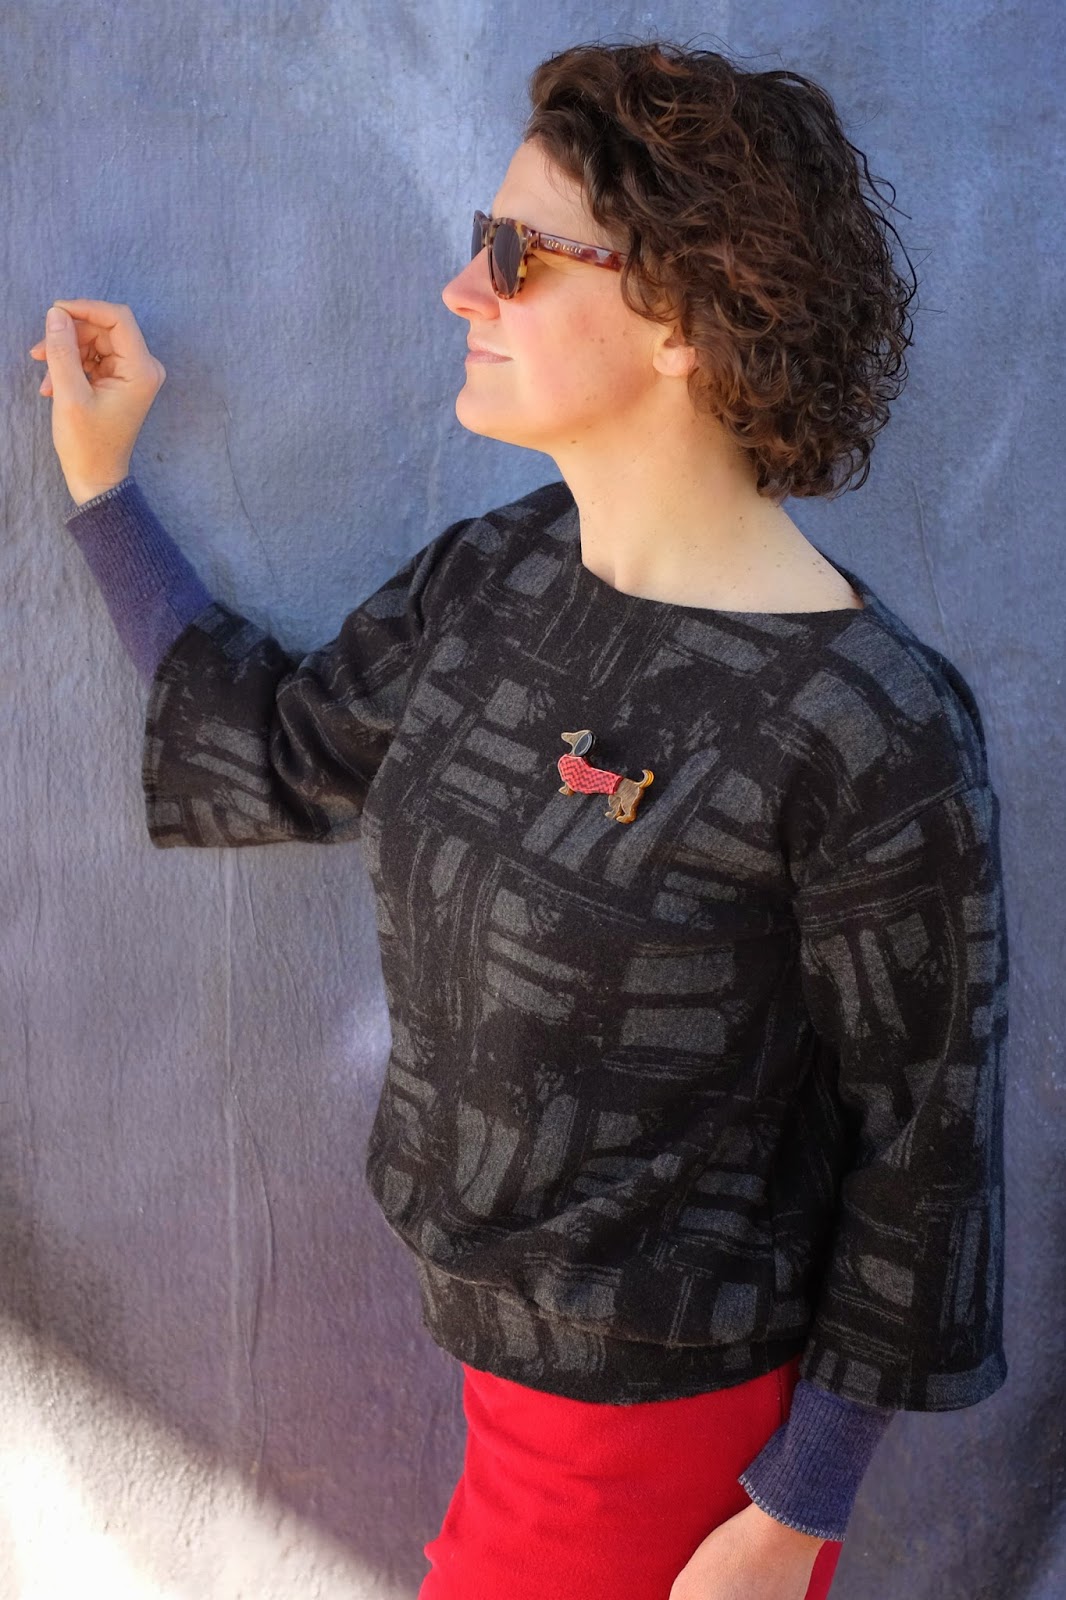
My most loved and frequently reached for winter top is the black/grey boxy felted wool top with the cool tree design.
This is a lighter weight and colour alternative to keep it company. It's also a test for me of the well loved Grainline Linden that took the sewing world by storm on it's release in 2014.

This is a straight size 8 Linden, view B in non-stretch woven fabric 

Sewn with 70cm of opp shop sourced vintage wool, washed (read as mildly felted & pre-shrunk) & slightly itchy. It's all good though as I love the speckled wool and it's a layering piece, part of my armour against the winter winds that come straight off the Antarctic.
*Update after wearing this almost every day for the past 5 weeks - it's not itchy IRL! And the neckline lets everything layer well, I adore this SOOO much!!
I was pleasantly surprised at the swiftness of putting it together and of the fit straight from the pattern. I've knitted a raglan sleeve cardigan, but never sewn one, being of the belief that they 'don't work' with forward shoulders. News flash, they do, and I can't believe I've dismissed them for so long! The sleeves are 3cm shorter than the view B pattern to fit on my wool remnant, and in this woven fabric, they'd not have worked any longer without darts and shaping.

I did take in the back raglan seams by 2cm at the neckline, grading to nothing by 7cm. Amanda gave the heads up on her rad quilted Linden & back breeze from Antarctic wind is not welcomed down here anymore than it is in Canberra. It also has snugged the neckline nicely, so I'll continue with this for the next version.
*photographic evidence is in the pink version, up next!

Such a gorgeous paisley match
I used a lovely vintage Liberty to face the neckline, it came from my $10 bag at the first Phillips Shirtmaker sale.
The sleeves and split hem are simply pinked, turned and hand stitched, invisibly in the wool, giving me the option to adjust them if I wish.
Woven vintage wool = swing!
A wildly pink Liberty in Kindle, view A, is up next to brighten my winter.
Yes, you could say my sew-jo is back ;)
More mad and crazy antlers in the next Linden post!

Tuesday, 18 August 2015

70's Splendour at Frocktails Melbourne

Yes, I do spend my life swanning about at all the most fashionable functions ;)
No?
Well, in my dreams I do...
Photo Credit Poppykettle
After a wonderful weekend in our nations capital for #cbrfrocktails, I set about planning for '#Frocktails', here in my home city of Melbourne.
Now, I knew Canberra would be frosty cold, but somehow the Antarctic winter that Melbourne was experiencing was more 'real' and caused more angst about 'what to wear to be warm'. Well, that and the reality that I was staying next to the venue in Canberra, but would be waiting on open platforms and catching trains in Melbourne.
Jenny Rennous-Oh-Glennus had the most brilliant of solutions - pop over to her post to see not just the best full skirt ever made, but also, her hidden source of toasty warmth.
 I accompanied her on the train to Frocktails in a full length wool coat, appropriated from my mum's "AFL games at the MCG" attending wardrobe - I felt very Sherlock Holmes. I will be making one for next winter. My headdress was the source of much fascination for a young girl also on the train, clearly we were going to a ball.
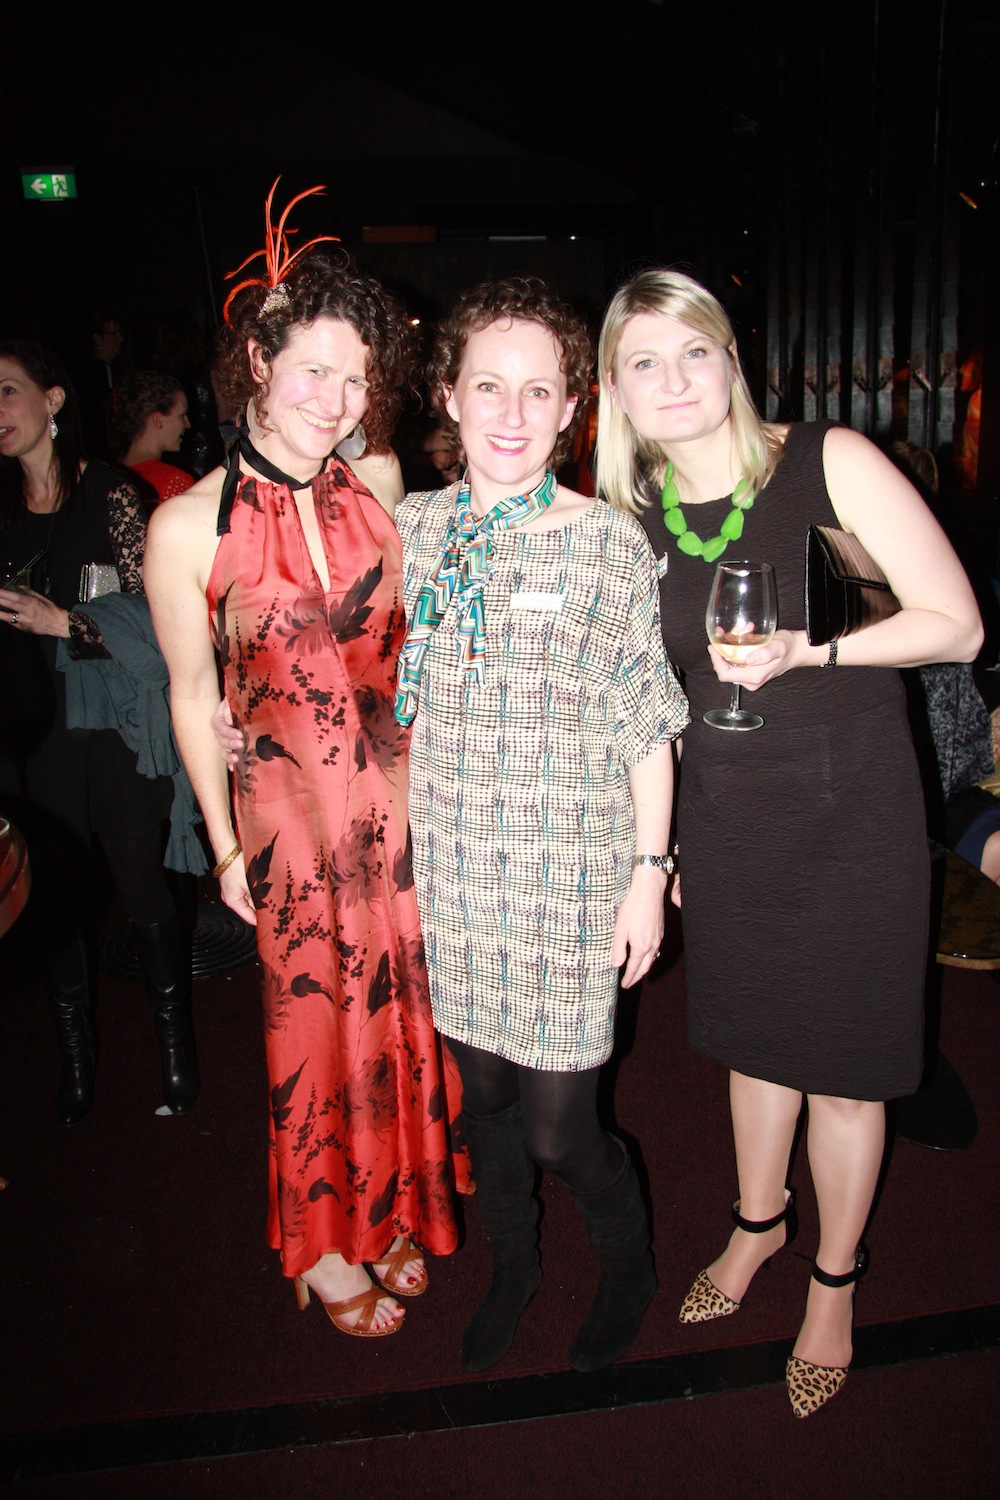
And what a ball it was! 51 gorgeous ladies from as far afield as NZ & Brisbane, all in handcrafted magnificence. My photos of the evening aren't mine and all credit goes to Mel Poppykettle, Helen Funkbunny and Gabrielle UpSewLate, they have many more in their posts.

Photo Credit Poppykettle
Keeping up my tradition of sewing my way through my silk stash, I paired this very tactile, almost peach skin silk with a classic 1970's pattern. The Tuesday before Frocktails I was full of 'the flu' & my wonderful mum drove me around some opp shops, as we like to do. There were 5 perfectly 70's patterns in a little shop that simply said 'take me home' and this one then said 'make me, in silk, tonight'. I did mention my raging fever? Anyhow, I was sensible enough (for a change) to soak the silk in a gelatine mix before laying it out and cutting the dress as long as the crosswise width of my fabric allowed.
I've reinforced the channels at the top and along the CB zip with silk organza. SewSquirrel is my online & local supplier. This silk is divine, but really doesn't like being unpicked and even with a new microtec needle, threatens to run on the stitch lines. That invisible zip, it's white, shhh, don't tell anyone ... A perfect excuse to buy a new summer shade of nail polish really ;)

DH had understandable reservations when he saw it in it's full 70's glory, it was quite Aline and made a strong 70's silhouette statement. My concerns were more along the undergarments line, its not an opaque fabric, and in it's original styling, bras were rather optional.
Mel reassured me early on in the night that the paparazzi flash wasn't showing my undergarments, phew! (I'm still wary after my first Frocktails experience where my understated burgundy slip became the main event, rather than my black lace dress). For those curious, this has a black halter neck slip ;)
Photo Credit Funkbunny
It was a truly magnificent night and I managed to escort the last ladies standing down Collins St to hot chips after 2am, so that's a definite achievement!


Monday, 9 March 2015

Sunny Summer in the Seventies

This is a dress of my childhood, a vintage pattern, sewn in fabric possibly older than it is ;)
I can imagine my mum, grandmas & aunts wearing lightweight loose dresses like this during summer in the 1970's. They're not common in family photographs as most pictures were taken during celebrations when everyone was more dressed up, but I'm sure I remember dresses like these as 'house dresses'.

I was given this lightweight yellow cotton from my lovely MILs stash. I think it's from when they were living in the tropics in the early 1970's. It's delightfully smooth and cool to touch, however it's been maturing for a while as I couldn't picture it as anything. Then, I was browsing my shirt dress collection, the sleeves on view 2 of Style1578 circa 1976 jumped out at me and declared, "our time has come again, make us now!" So I did.
I made View 2 sleeveless, size 12, 34" bust

Tuesday, 6 January 2015

Culottes - they're back.

I love culottes, in all of their 70's, late 80's and early 90's magnificence. I really didn't think I'd live to see fashion turn around to notice them again, however since the decades I remember were simply reinterpreting the 30's and 40's, it's really of no surprise that they're baaack!
Leading the culottes revival are the gorgeous Debbie at Lily Sage & Co and eternally stylish Kirsty B at Top Notch who have both inspired me with every version that they've made.
I can add Jillian of Sew Unravelled to that list now as well - I adore hers!
Definitely Culottes.

Sunday, 27 April 2014

Sew for Victory - 1943 woollen skirt (S4775) and Dahlia

Allow me to introduce Simplicity 4775 (1943) as a navy wool skirt and Wearing History's Dahlia blouse for Sewing for Victory 2.0

Sew for Victory is a 1940's themed sew along that is in it's second year - with many to come! It's hosted by the lovely Rochelle of Lucky Lucille and this year has ran from March until 30th April. It's open to everyone, with the only proviso that we sew a 1940's (original, reproduction or inspired) outfit during these dates.
Next year I think I'll muslin it up before the start date!
Simplicity 4775 (1943) and Wearing History's Dahlia Blouse View A
Daydreaming as usual, I haven't noticed that my hem's down


Tuesday, 1 April 2014

MadMen3 - Jane Sterling she's a mod mod girl


Some days, a project just takes on a life of it's own. My social Anna was born out of picking up the right fabric with the right friends present to facilitate it's construction.

This story is like that, although I'll credit the online community and dreams of Sterling Cooper.


I had SO much fun with channelling 1967! Imagine if you will, that Jane Sterling hooks up with Megan Draper's hip friends after her divorce from Sterling (which was very, very expensive) and hits the town...


Followers of The Monthly Stitches Miss Bossy Patterns may recall that I had as option three a rayon printed with an Art Nouveau/1970's geometric design. I was asking for assistance about which late 60's pattern to sew up, my Mum's straight shift dress, or a raglan sleeved one that I thought was simply darling ;)

Influencing my choices was Julia Bobbin's MadMen Challenge #3 - and the seasons have caught up with the late 1960's, opening the challenge to shift dresses and more free-loving styles.
Julia Bobbin - Mad Men Challenge III

Friday, 28 February 2014

Replacing RTW - Simplicity 6672 - Black&Grey Maxi

Reflecting on everyone's goals for the year, it seems that some of the main trends for 2014 sewing bloggers who make resolutions, is to stash bust, continue RTW (ready to wear) fasts and develop some TNT (tried & true) patterns with variations.

I spent the later part of 2013 building an enviable stash (of both patterns and fabric) and am sure I'll find some pretty pieces to add to it in 2014 ;)
It's a gorgeous photo (on film no less)
Surely you don't want dress details as well?!

Wednesday, 19 February 2014

Miss Bossy Patterns - Selecting a project for March

Over at the Monthly Stitch they realise that some of us may have patterns in our stash that we've never used, despite our very best intentions.
Some of us may also have fabric associated with these patterns
The March Challenge is to select three of those patterns and to ask you to vote for one which will be sewn for March.
Now, my pattern stash is trying to keep up with Heather B of "all the patterns" and there are some gems that need some TLC before they are worthy.
There may also be some fabric that's waiting on the aforementioned pattern tweaking….
Getting to this glorious stage isn't going to happen in the next month ;)


Voting for all!!

So, I've chosen a luscious knit from the Clegs sale that I pat every time I pass and paired it with the first pattern I saw from Drape Drape - top #1 that I've never even traced….. I even have a draped red knit top shaped hole in my wardrobe (the RTW version is simply, worn out!)


Thursday, 31 October 2013

1940's blouses


I'm not sure how many Simplicity patterns now include the finished garment measurements ON THE OUTSIDE OF THE ENVELOPE - but I really, really appreciate it!!! It made choosing which of the sizes to pick easy and saved me from making a top with 10 INCHES of EASE!!!
(ok, enough yelling now ;)

This is Simplicity a 1940's reproduction top, view c, that I purchased while waiting (rather impatiently) for a vintage pattern to fly over from the USA. (I had the most wonderful of times at the Vintage Martini clearance sale and now possibly have more vintage patterns than I have time to sew)
Gorgeous vintage buttons from the Polished Button

Lovely fabric button loops

Pattern Review: Simplicity 1692
  • I chose view C and cut a size 8 for my 34" bust
  • I extended the bust darts a further 5cm.
  • I lowered and widened the neckline, losing two of my lovely vintage buttons but also regaining the ability to breathe.
  • I converted the facings provided with the pattern to a complete, or all in one facing - well, ok, I chose to fully line the bodice - with the aid of Jenny's wonderful series of tutorials on making facings your friends (you can find the entire series here:)
  • I should have done a sway back adjustment, left the back darts in and inserted the side zip  (especially as the side zip was the reason I chose the pattern…)

The evidence supporting my need to do a sway back adjustment - to return the additional back pleats, and not leave out the zip next time.